How To Take Better Pictures Of Your Trophy
I fully understand that some people don’t believe in taking the time to snap pics in the field. However, I like to have nice photos.
I enjoy looking back at the pics, and remembering the good times or hard work that was put into a hunt ending in success. My family has always taken photos, and there is nothing we look back on more than our hunting shots. Sure…it’s just a photo, but there is always a story that goes with every one of them.
One of my dad’s favorite pics to this day is a photo of my brother, him and I duck hunting in Minnesota on youth day. This is a photo my mom took of us all in the field, and something that we can always look back on and smile about the fun we had together as a family that day. With that said, the memories will always be there with the pic, but I like to take the time to make my deer or whatever animal look the best it can. Some of these tips have been learned through trial and error, others I’ve picked up from people I hunt with.
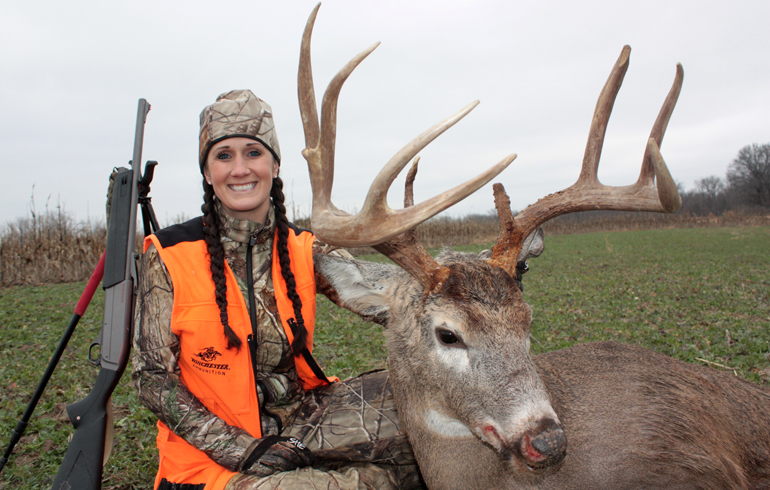
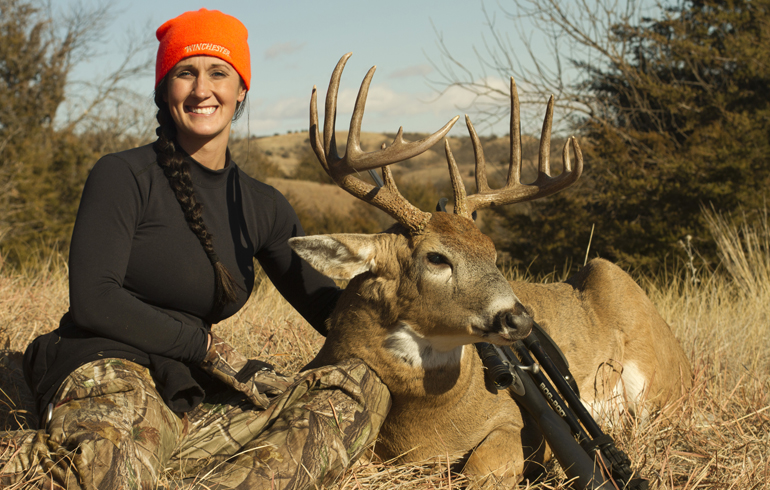
- Clean up the animal- Wipe any excess blood off the horns, face, mouth or body. I also ensure the tongue is not hanging out by either removing it or tucking it back in for photos.
- Fold the legs under- I like to prop a deer or any big game animal up as if they were in a bedded position. Fold the legs underneath their body. If the back legs get too stiff, you can leave them straight out. But, flip the deer on its stomach so it’s upright.
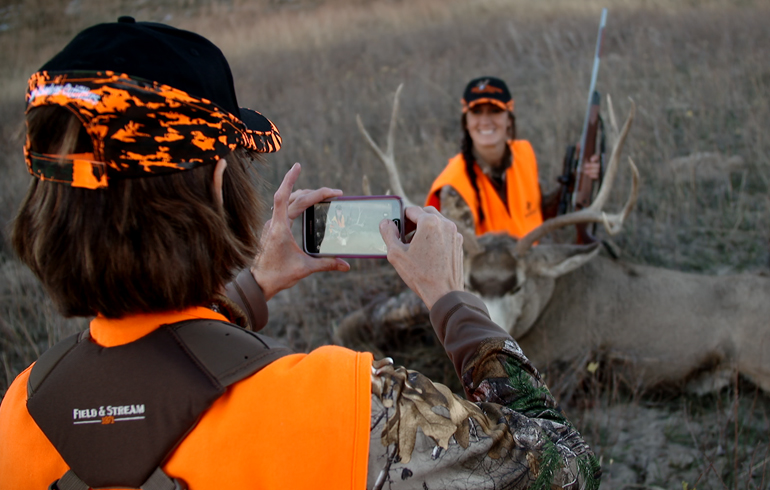
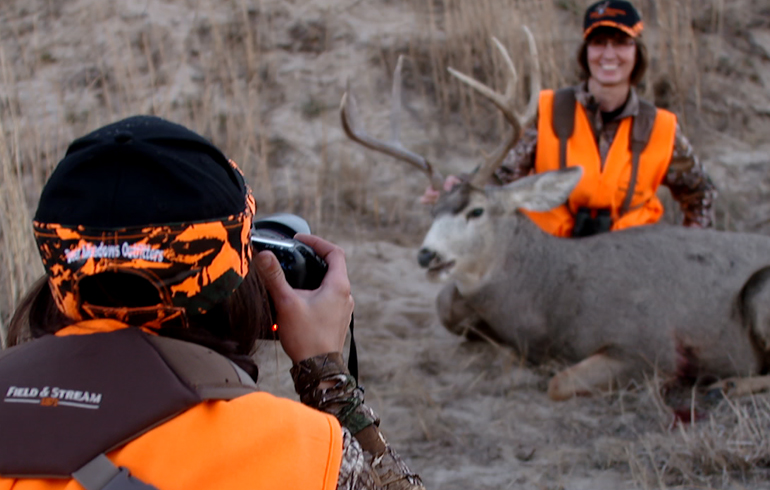
- Keep hands from overtaking the image- If you use your hands to grab right in the middle of a deer’s rack, they’re the first thing you’ll see in the photo. I try to put my hands either behind the head, under their chin or just use one or two fingers to hold the rack up. When you first glance at the photo you’ll see the deer, not a giant hand or arm first which makes for a better pic.
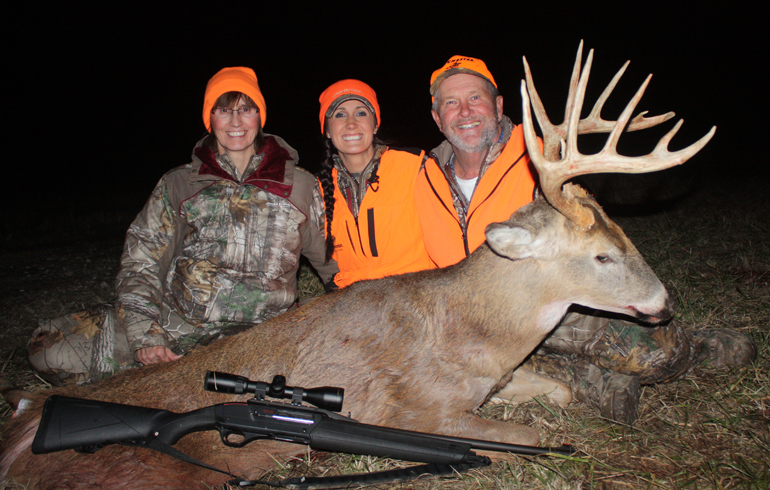
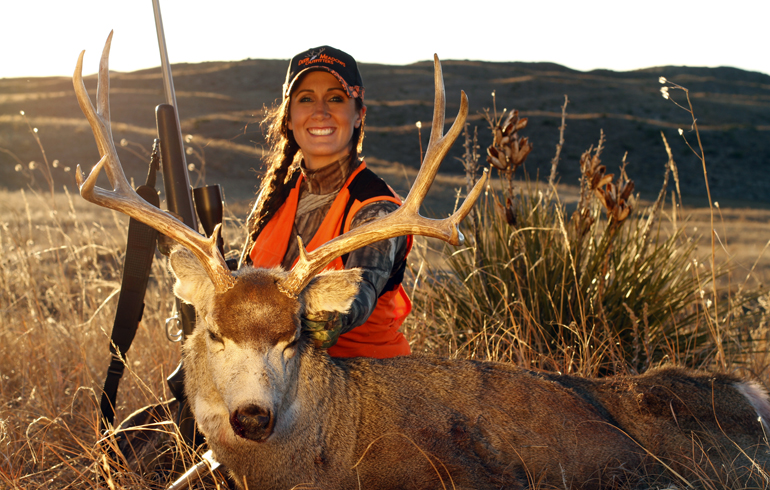
- Find even light- It is important to find an area that has as even amounts of light. What this means is…don’t put your animal in the shade and have the background in bright sun. Either go all in bright sun, or all in shade if at all possible. This is why cloudy days or night images are my favorite as this isn’t an issue. I also like to look what will be in the background and find something that’s pretty, but not too distracting. If you don’t have much in the area most antlers look good with the sky in the background to set them apart.
- Use a flash- I always use a flash for both day and night images because I’m usually wearing a hat. It’s hard to get enough light under the brim of a hat to see eyes unless you’re using a flash. Try taking a pic both ways, but I have found that using a flash gives me the best images with a hat. Also, try to get low on the photo. This will help bring light under the hat and also makes the rack look a little more impressive.
- Use taxidermy eyes- Unless it has been just a few minutes from when you shot your animal, usually they eyes start looking sunk in. One way to give your photos a more lifelike look is to put taxidermy eyes in for the photos. This is a little trick that is easy. Just keep a set in your camera bag and you can pop them in and out for photos. I have a set for antelope (which are bigger) and one set for deer.
- SMILE!- You just put in a ton of hard work and now have food for your freezer! This is a memory you’ve worked hard for. I’m a firm believer that it’s ok to smile. You’re happy. You worked hard, you now can feed your family healthy, organic wild game and you should be proud. People smile all the time next to their food on a plate at a restaurant, this is just one step prior in our world.
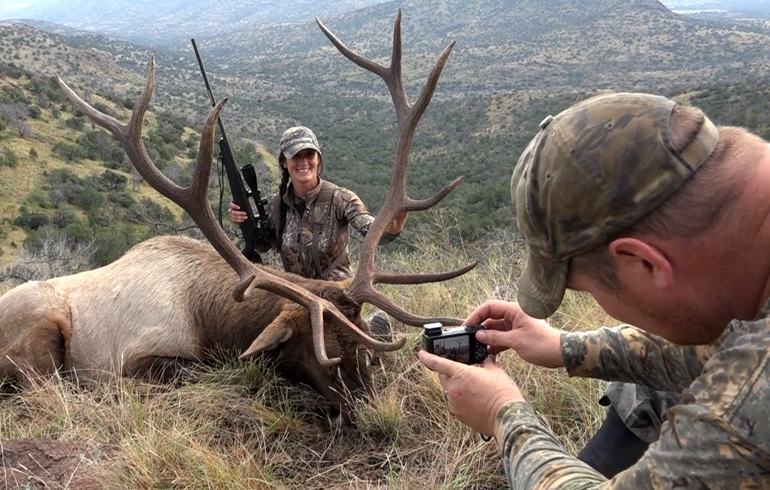
Whatever you do just remember to have fun, enjoy the outdoors and get as many people involved as possible. Try hard to keep your photos classy so that all who see them recognize the fun you’ve had and the respect you pay to your trophy.