New Year – a New You – Here is a Simple and Effective Way to Begin
As we inch towards closing out another year, it’s time to ease back into training mode as we celebrate the holidays and plan for new fitness and wellness resolutions! To kick things off, I’m going to be...
…sharing some easy step-by-step progressions for some exercises that have become staples of my training.
For starters, let’s start with arguably one of the best back and arm exercises: the pull-up. For those of us who are pull-up challenged and looking to improve, here are some simple progressions to get you on track! Depending on your fitness level, you may be able to skip over some steps.
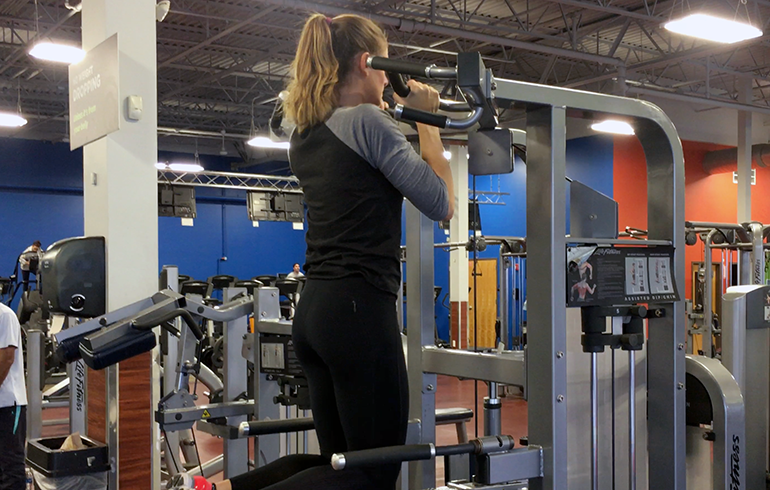
Progression 1: Machine Assisted Pull-Ups
I find machine-assisted pull-ups beneficial if you’re new to pull-ups and need to start building a strength base. If done properly, I think machine assisted pull-ups are a better option than the lat pull-down for introducing and learning proper pull-up form.
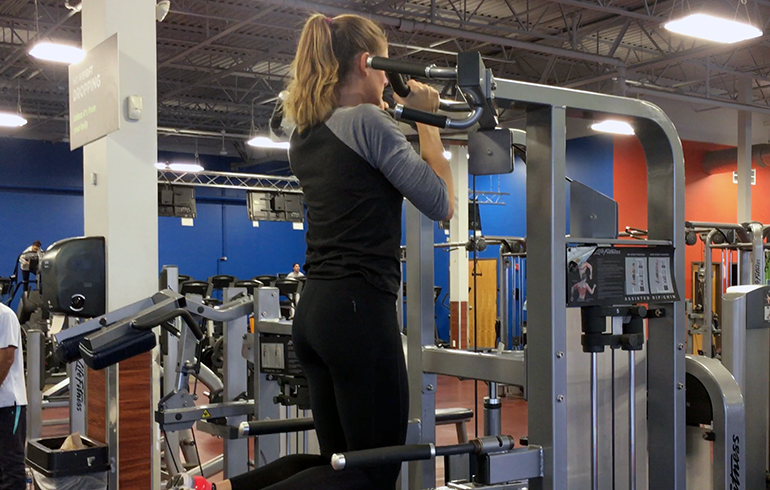
- Begin by selecting a weight that will ensure you can easily perform the movement. This will help you become acquainted with the machine (if not already so) and nail down your form
- Then, select your grip and grasp the bar and slowly extend your arms and lower yourself into the bottom of the movement (note: I prefer to use the neutral grip to help prevent nagging shoulder pain)
- Flex your arms at the elbows and pull yourself straight up until your chin is level with the grip bar. Keep a tight back, pull the elbows in towards your body and keep your shoulders tucked back and down (a cue for this is to put your shoulder blades in your back pocket)
- Lower yourself in a controlled fashion to full arm extension and repeat
Start with a basic rep/set range: 2 to 3 sets of 8 to 10 reps performed 2x a week for 3 weeks. Be sure to progress in difficulty as your body becomes more and more accustomed to the exercise!
Progression 2: Negative Pull-Ups
To further help build up the necessary base strength and up the stress (good stress!) on your back muscles, we’ll incorporate the negative (eccentric) pull-up. Simply put, negative pull-ups focus on the lowering portion of the exercise performed at a slow and controlled rate.
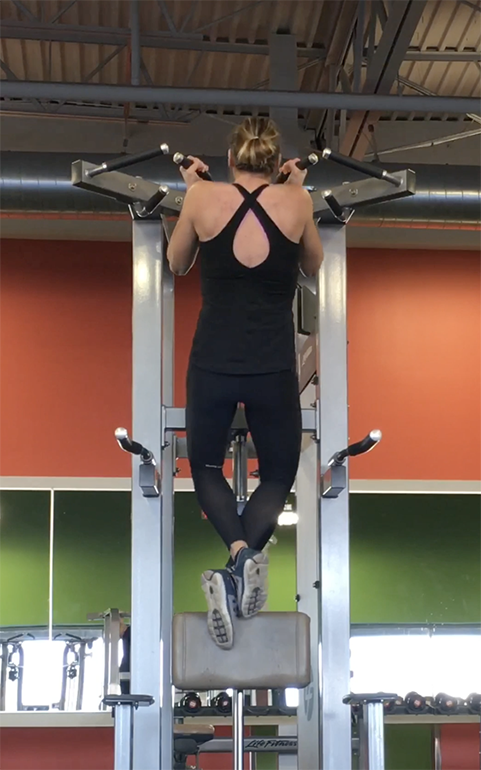
- This exercise begins with chins above the grip bar. So, use a stool or box to help give you the boost up! A jump pull-up is another option here
- Extend at the elbows and lower yourself at a slow, controlled rate – usually somewhere in the 3 to 5 second range. The slower you make it, the harder it’ll feel
- Once at the bottom of the lift, use your box to boost yourself back up and repeat
- Focus on completing 3-5 sets of 5 reps for starters done 2x a week
If you’ve never done an eccentric lift before, do expect some added muscle soreness in the next few days as extending a muscle under a load (eccentric lift) can stress the muscles more especially if you’re not used to it!
Progression 3: Banded or Partner Assisted Pull-Ups
Lastly, it’s time to grab a looped resistance band and head on over the pull-up bar. These will be the final “training” wheels (see what I did there?) before progressing strictly to body-weight pull-ups. While somewhat awkward at first, they are easy to get used to after a few sets. To start:
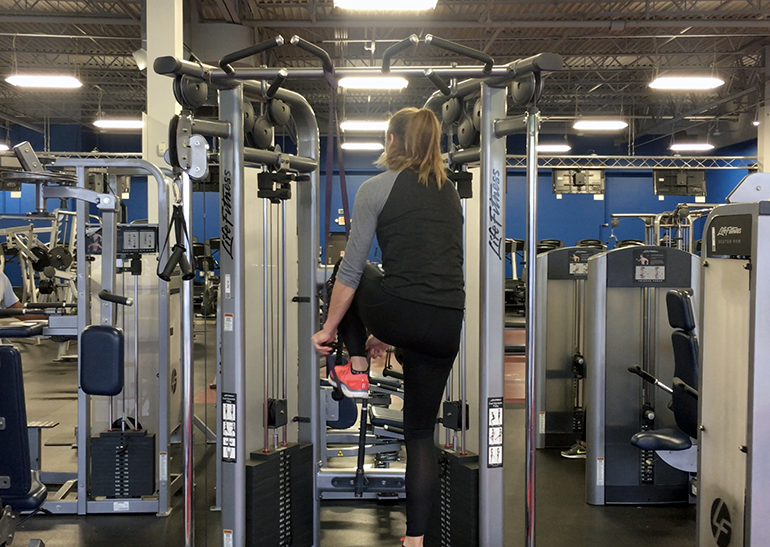
- Secure the band around the grip bar and use a stool or bench to place one of your feet through the hanging loop
- Place all of your body weight into the band and “stand up straight,” allowing your body to lower down into the start position at the bottom of the lift, and perform a pull-up using the same cues we’ve discussed already
Naturally, our body may lean towards the side of the foot we’ve placed in the band, so be sure to stay focused on keeping a tight core and maintaining most of the tension in the arms and lats, rather than leaning on the band too much.
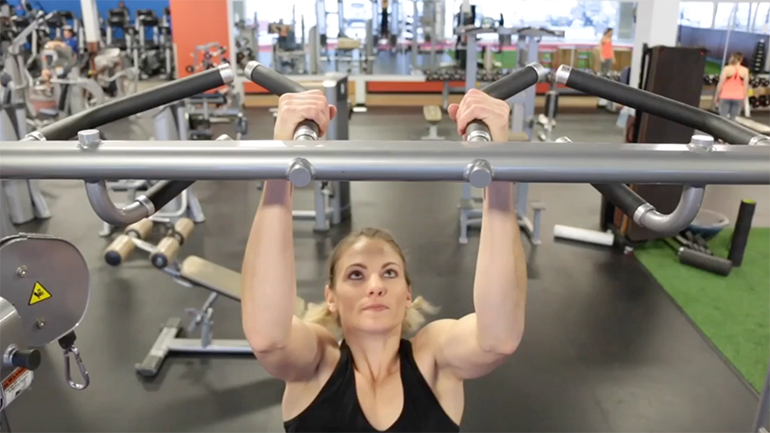
If possible, go with partner assisted pull-ups instead, as these will force you to build strength at the bottom of the lift – where we are usually weakest!


